DIY Kitchen Cabinet Installation Guides: Save Money and Transform Your Space
Share
Thinking about upgrading your kitchen without breaking the bank? Installing Ready-To-Assemble (RTA) kitchen cabinets yourself can be a fantastic way to achieve a stylish and functional new kitchen while saving significantly on professional installation costs. While it might seem daunting at first, with the right tools and a step-by-step approach, even DIY beginners can successfully install their own kitchen cabinets.
This comprehensive guide will walk you through the process of installing RTA kitchen cabinets, ensuring a smooth and successful transformation of your kitchen space.
Why Choose RTA Cabinets and DIY Installation?
- Significant Cost Savings: The primary advantage is the substantial reduction in labor costs compared to hiring professional installers.
- Flexibility and Control: You work at your own pace and have complete control over the project timeline.
- Sense of Accomplishment: There's a great feeling of satisfaction in transforming your own home with your own hands.
What You'll Need (Tools and Materials):
Before you begin, gather all the necessary tools and materials:
- Cabinets: Your ordered RTA kitchen cabinets, ensuring all parts and hardware are present.
- Stud Finder: Essential for locating wall studs for secure mounting.
- Level (2-foot and 4-foot): Crucial for ensuring cabinets are plumb and level.
- Drill/Driver with various drill bits and driver bits: For pilot holes and screwing in fasteners.
- Screws: Wood screws of various lengths (check your cabinet instructions for recommendations).
- Measuring Tape: For accurate measurements.
- Pencil: For marking walls and cabinets.
- Safety Glasses: To protect your eyes.
- Gloves: To protect your hands.
- Step Ladder: For reaching higher areas.
-
Clamps (various sizes): To hold cabinets together during assembly and installation.
Optional but Recommended:
- Laser Level: Can make leveling much easier.
- Cabinet Jack or Support System: Helps hold upper cabinets in place while you screw them in.
- Shims: For leveling cabinets on uneven walls.
- Painters Tape: To mark lines without damaging the wall.
Step-by-Step Guide to Installing Your RTA Kitchen Cabinets:
Phase 1: Preparation is Key
- Unpack and Inspect: Carefully unpack all cabinet boxes and verify that all components and hardware are included according to the packing list. Inspect for any damage during shipping.
- Assemble Cabinets (if not pre-assembled): Follow the manufacturer's instructions to assemble each cabinet. This usually involves screwing panels together and installing hinges and drawer slides. Take your time and ensure everything is square and secure.
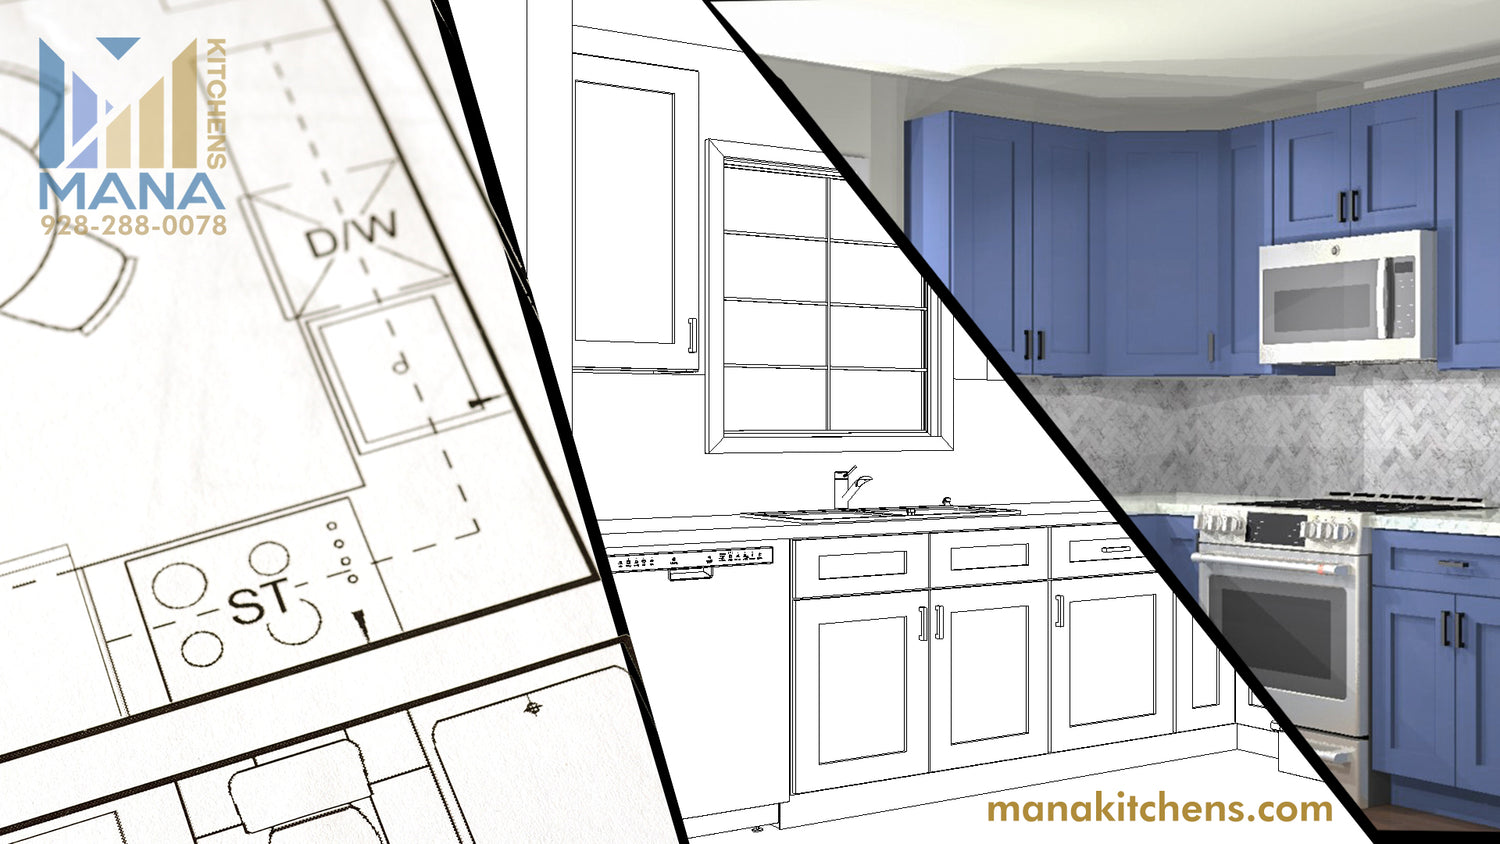
- Plan Your Layout: Refer to your kitchen design plan. Mark the locations of upper and lower cabinets on your walls using a level and pencil. Clearly indicate the top and bottom lines of each cabinet run.
- Locate Wall Studs: Use a stud finder to identify the locations of wall studs along your marked lines. Mark the center of each stud – these are crucial for securely mounting your cabinets.
Phase 2: Installing the Base Cabinets
- Start with a Corner (if applicable): If your design includes a corner cabinet, begin there as it often dictates the placement of adjacent cabinets.
- Level the First Cabinet: Position the first base cabinet against the wall, aligning it with your marked lines. Use shims under the cabinet if necessary to ensure it is perfectly level both front-to-back and side-to-side.
- Secure to the Wall: Pre-drill pilot holes through the back of the cabinet frame and into the wall studs. Use appropriate length wood screws to securely fasten the cabinet to the studs. Aim for at least two screws per stud.
- Install Adjacent Cabinets: Position the next base cabinet, ensuring it is level with the first and that the face frames are flush. Use clamps to hold the cabinets together.
- Connect Face Frames: Pre-drill pilot holes through the inside of the face frames where they meet and use screws to join the cabinets together. This creates a seamless and sturdy run of base cabinets.
- Repeat for Remaining Base Cabinets: Continue this process until all base cabinets are installed, ensuring each is level, securely fastened to studs, and properly connected to its neighbors.
Phase 3: Installing the Upper Cabinets
- Determine the Mounting Height: Typically, the bottom of upper cabinets is 18 inches above the countertop. Refer to your design plan for specific measurements. Mark the bottom line of your upper cabinets on the wall, ensuring it is level. Also, mark the top line.
- Locate Studs Above Countertops: Use your stud finder to locate studs along the upper cabinet lines.
- Install a Temporary Support (Optional but Recommended): If you're working alone or installing large upper cabinets, a cabinet jack or temporary support system can be invaluable for holding the cabinet in place while you screw it in.
- Position and Level the First Upper Cabinet: Carefully lift the first upper cabinet into position, aligning it with your marked lines. Ensure it is level.
- Secure to the Wall: Pre-drill pilot holes through the back of the cabinet frame and into the wall studs. Use appropriate length wood screws to securely fasten the cabinet to the studs. Aim for at least two screws per stud.
- Install Adjacent Upper Cabinets: Position the next upper cabinet, ensuring it is level with the first and that the face frames are flush. Use clamps to hold them together.
- Connect Face Frames: Pre-drill pilot holes through the inside of the face frames where they meet and use screws to join the cabinets together.
- Repeat for Remaining Upper Cabinets: Continue this process until all upper cabinets are installed, ensuring each is level, securely fastened to studs, and properly connected.
Tips for a Successful DIY Cabinet Installation:
- Read the Instructions Carefully: Always refer to the specific installation instructions provided by MANA Kitchens for your cabinet models.
- Double-Check Measurements: Accuracy is crucial. Measure twice, cut (or in this case, drill) once.
- Don't Rush: Take your time and work methodically.
- Enlist Help for Upper Cabinets: If possible, have a helper assist with lifting and holding upper cabinets, especially larger ones.
- Use Shims Wisely: Don't rely on shims to correct major wall imperfections. Address significant issues before installation.
- Pilot Holes are Your Friend: Always pre-drill pilot holes to prevent wood splitting and ensure screws go in straight.
- Prioritize Safety: Wear safety glasses at all times and be mindful of your surroundings.
Congratulations!
By following these steps, you can successfully install your RTA kitchen cabinets and enjoy a beautiful and functional new kitchen without the hefty cost of professional installation. Remember to take your time, be precise, and don't hesitate to consult online resources or DIY forums if you encounter any challenges. With a little effort, you'll be amazed at what you can achieve!
Ready to start your kitchen transformation? Explore the wide selection of high-quality RTA kitchen cabinets at www.manakitchens.com and begin your DIY journey today!


